Web chat
- Guide by example
- Requirements
- The starting situation
- Proxying with nginx
- Domain and HTTPS
- Authentication
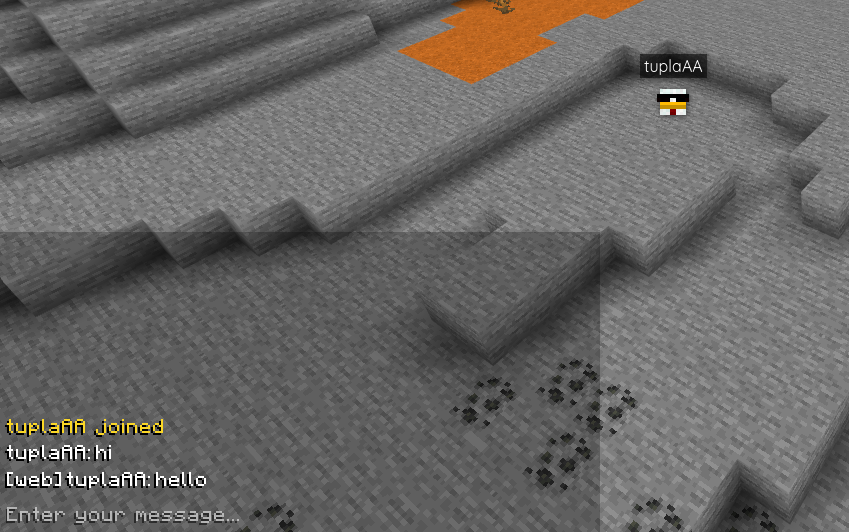
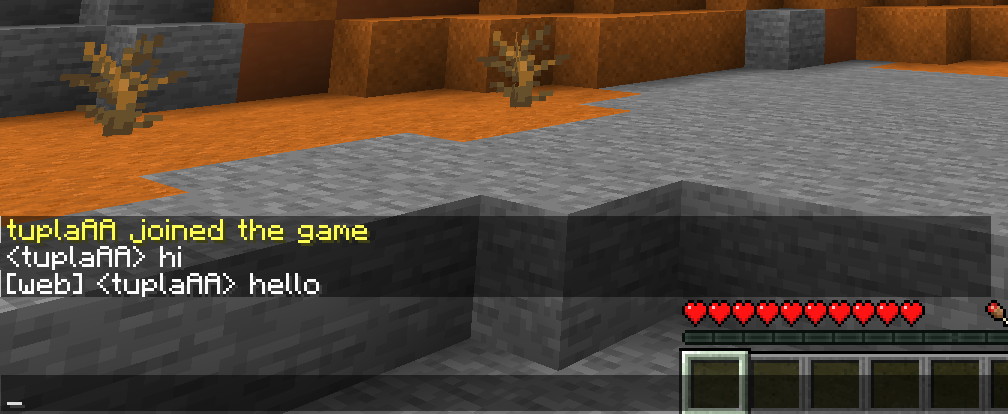
- Chat
Guide by example
In the world of BlueMap where we have to support all these platforms and server configurations it is impossible to write guides and addons that cover everyone’s needs. That’s why this guide will just go through an example case of turning a regular old boring BlueMap installation on a Paper server running on a Debian VPS to a fancy one with a web chat. You will most likely need to adapt this guide to your specific situation or find a more tech-savvy friend to help you. You can also hire the writer of this guide (Antti.Codes) for consultation for 90€/h. Though as he is way too kind-hearted he will help as much as possible on the #3rd-party-support channel in the official BlueMap Discord for free.
Requirements
Requirement keywords as per RFC 2119
- You MUST have a Spigot based server. Paper SHOULD be used. The addon doesn’t support other platforms.
- You MUST have root access and be able to install and configure additional software such as nginx.
- You MUST NOT run a server network with Bungeecord, Velocity or similar. The addon only supports one global chat.
- You SHOULD have a public IP address. If you don’t you will need to figure out exposing ports to the internet yourself.
- You SHOULD know the basics of navigating around the command line, otherwise this will be painful.
- You SHOULD have a domain. Have fun figuring out self-signed certificates without a domain.
- You SHOULD NOT run any chat plugins. The addon does not support them and the behaviour is undefined.
- You MAY grab a sysadmin friend to help you.
The guide assumes all the recommendations are followed.
The starting situation
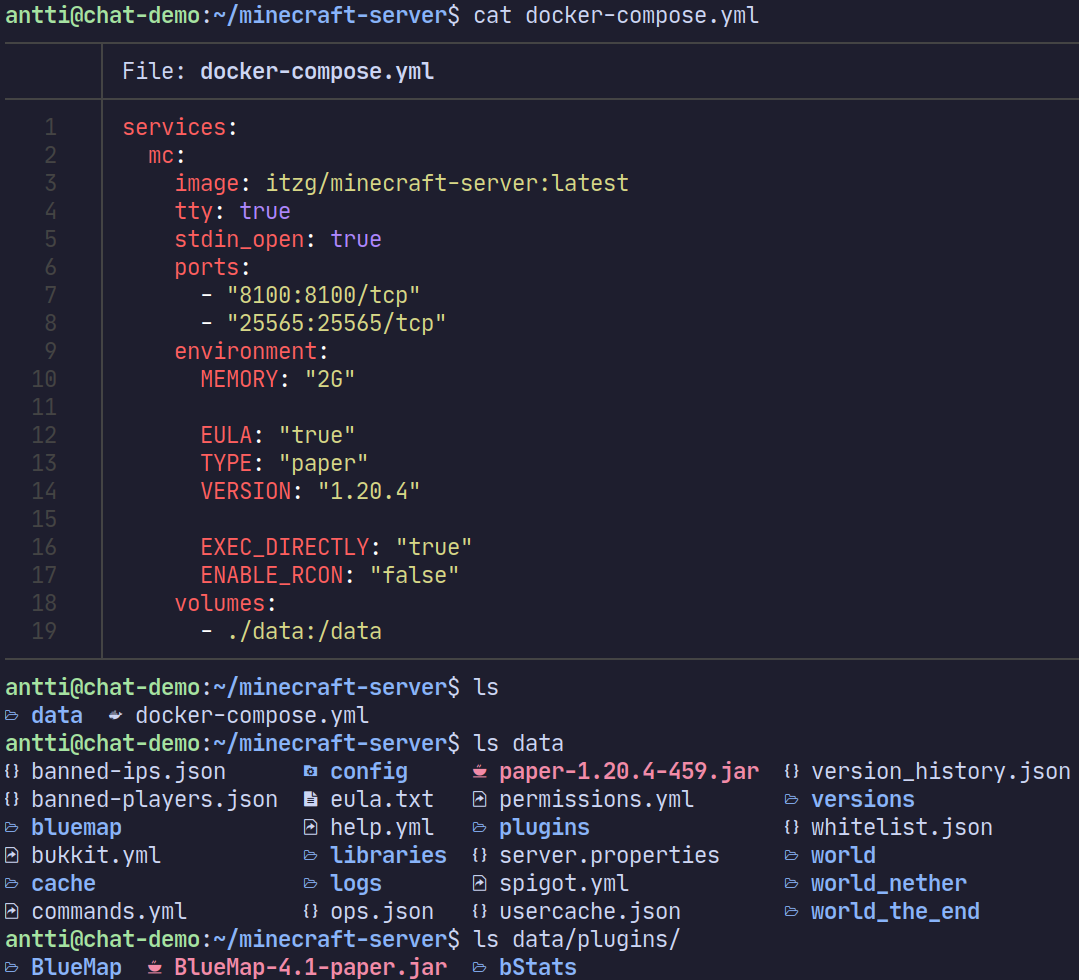
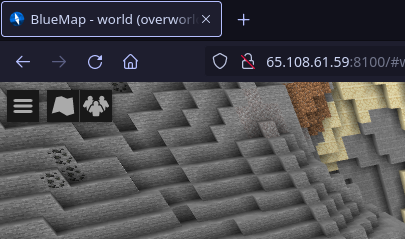
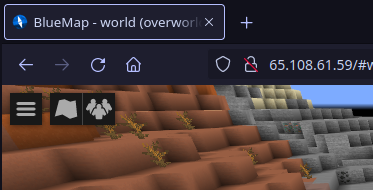
We’ve got a VPS running Debian. The VPS has a public IP. There is a Paper Minecraft server running on port 25565 and BlueMap installed as a plugin running on port 8100. The BlueMap is accessible at http://12.34.56.789:8100/.
In my case the Minecraft server is run with a Docker container as seen below.
Proxying with nginx
Our first step is to put the BlueMap site behind NGINX reverse proxy.
This is needed as we want HTTPS, NGINX auth request module and combine many services under one host.
Install NGINX using sudo apt install -y nginx.
You should now be able to observe NGINX working at http://12.34.56.789/

Next we should navigate to /etc/nginx to start configuring our fresh installation
We shall start by removing the default configuration files with sudo rm -rf ./sites-available/default ./sites-enabled/default /var/www/html
Then create our own using sudo nano ./sites-available/bluemap.conf with the following content:
server {
  listen 80 default_server;
  listen [::]:80 default_server;
  server_name _;
  location / {
    proxy_pass http://127.0.0.1:8100;
  }
}
Next we have to enable the created configuration file with sudo ln -s ../sites-available/bluemap.conf ./sites-enabled/bluemap.conf.
Then after reloading NGINX with sudo nginx -s reload we should see our BlueMap at the location which had NGINX welcome page earlier.
As we no longer use BlueMap’s own port for accessing it. We should prevent it from being exposed.
In our compose.yml file we can do "127.0.0.1:8100:8100/tcp" instead of "8100:8100/tcp".
If you don’t use Docker, instead of changing Docker’s port bindings, change the IP address BlueMap uses by editing webserver.conf and adding ip: "127.0.0.1".
Domain and HTTPS
Proxying is cool and all but it’s pretty much a no-op right now.
So open up your DNS management interface, in my case Cloudflare, and add an A record for the IP address of the server.

Change the server name in NGINX sites-available/bluemap.conf file to match your chosen domain like this server_name your.domain;
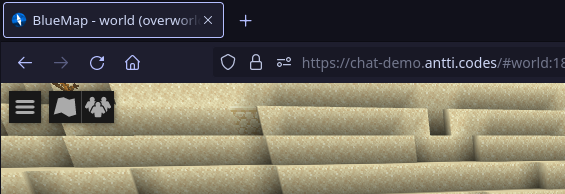
The BlueMap should be accessible at the domain, just without HTTPS still.
To get the most out of our domain we want to use free SSL certificates to secure the connection. And to do that we need a tool to acquire certificates, like acme.sh, which is really cool. To install acme.sh we want to change to root user with sudo su and run curl https://get.acme.sh | sh -s email=your@email.here with your email.
Close and reopen your terminal and change back to root with sudo su, so we are now ready to get some free goodies.
Run acme.sh --issue --nginx -d your.domain to acquire the certificates for your domain.
Though these certificates are not ready for use yet.
First we want to prepare a couple of files and permissions so everything goes smoothly with NGINX.
Run the following commands:
addgroup certs
usermod -aG certs root
usermod -aG certs www-data
mkdir /etc/nginx/certs
touch /etc/nginx/certs/key.pem
touch /etc/nginx/certs/fullchain.pem
chown -R root:certs /etc/nginx/certs
chmod 770 /etc/nginx/certs
chmod 660 /etc/nginx/certs/*
These will set up a certs groups and a certs folder which only the users in the group (root and NGINX) are allowed to access.
Now we can install the certificates we acquired earlier:
acme.sh --install-cert -d your.domain \
--key-file /etc/nginx/certs/key.pem \
--fullchain-file /etc/nginx/certs/fullchain.pem \
--reloadcmd "systemctl reload nginx"
We can now log out of the root user and get back to our normal user (unless you just do everything on root anyway…). Let’s revise the NGINX sites-available/bluemap.conf to use them.
server {
  listen 80 default_server;
  listen [::]:80 default_server;
  server_name _;
  location / {
    return 301 https://$host$request_uri;
  }
}

server {
  listen 443 ssl;
  listen [::]:443 ssl;
  server_name your.domain;
  ssl_certificate /etc/nginx/certs/fullchain.pem;
  ssl_certificate_key /etc/nginx/certs/key.pem;
  location / {
    proxy_pass http://127.0.0.1:8100;
  }
}
After reloading NGINX with sudo nginx -s reload we should have a working BlueMap website with HTTPS. Hurray!
Authentication
Download Authentication and BlueMap-Auth. Copy them to the server plugins folder. You can do this with scp for example scp ~/Downloads/{Authentication,BlueMap-Auth}*.jar 12.34.56.789:~/minecraft-server/data/plugins. Do notice the above links are for specific releases used at the time of writing (v0.4.0 and v0.2.1), there may be newer versions available that you may want to use. If you do use newer releases, keep in mind that some steps might differ, and you should refer to the official up-to-date documentation.
Now let’s restart the server to generate configuration files. Edit plugins/Authentication/config.yml to have optional_authentication: true. If you aren’t using Docker you don’t need to touch ports or ips at all but as I am I’ll need to. I’ll edit the config.yml for Authentication and BlueMap-Auth to have ip: "0.0.0.0". And compose.yml to have "127.0.0.1:8200:8200/tcp" and "127.0.0.1:8400:8400/tcp" in the ports section. Don’t forget to restart the server to apply any changes.
Next we’ll get back to nginx and revise the sites-available/bluemap.conf to be as follows and reload again with sudo nginx -s reload. This is based on the BlueMap-Auth Example Nginx Configuration. Replace mentions of “your.domain” with your actual domain.
# Basic http to https redirect
server {
  listen 80 default_server;
  listen [::]:80 default_server;
  server_name _;
  location / {
    return 301 https://$host$request_uri;
  }
}

# Https server, authentication layer
server {
  listen 443 ssl;
  listen [::]:443 ssl;

  # Your domain name
  server_name your.domain; # REPLACE ME

  # Your ssl certificates
  ssl_certificate /etc/nginx/certs/fullchain.pem;
  ssl_certificate_key /etc/nginx/certs/key.pem;

  location / {
    # Arbitary port which has to be same as the one in the server block below
    proxy_pass http://127.0.0.1:8000;
    proxy_buffering off;

    # Checking the authentication
    auth_request /authentication-outpost/auth;
    error_page 401 = @minecraft_login;

    # Set the request to backend to contain user's information
    auth_request_set $minecraft_loggedin $upstream_http_x_minecraft_loggedin;
    auth_request_set $minecraft_uuid $upstream_http_x_minecraft_uuid;
    auth_request_set $minecraft_username $upstream_http_x_minecraft_username;

    proxy_set_header x-minecraft-loggedin $minecraft_loggedin;
    proxy_set_header x-minecraft-uuid $minecraft_uuid;
    proxy_set_header x-minecraft-username $minecraft_username;

    proxy_set_header Host $host;
  }

  # Arbitary unused path
  location /authentication-outpost/ {
    # Proxy to your authentication plugin instance
    proxy_pass http://127.0.0.1:8200/;
    # Send users ip to authentication for security reasons
    proxy_set_header X-Forwarded-For $remote_addr;
    # Nginx requirements
    proxy_pass_request_body off;
    proxy_set_header Content-Length "";
  }

  # Internal location for redirecting to login page
  location @minecraft_login {
    internal;
    return 302 /authentication-outpost/login;
  }
}

# Application layer, all requests are authenticated, proxy requests to BlueMap or an addon
server {
  # Arbitary unused port on localhost
  listen 127.0.0.1:8000;

  # The authentication layer already logs, we don't need internal logging
  access_log off;

  # Everything by default to BlueMap
  location / {
    proxy_pass http://127.0.0.1:8100;
    proxy_buffering off;
  }

  # Addon integration requests to it
  location /addons/integration/ {
     proxy_pass http://127.0.0.1:8400/;
     proxy_buffering off;
  }

  # Other addons go here
}
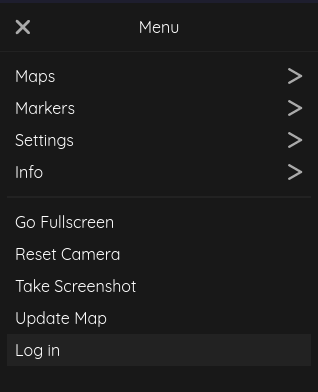
Your BlueMap should now have a login button in the menu.
Chat
We’ve finally arrived at the last step. Just one more plugin and a tiny bit of NGINX configuration.
Download BlueMap-Chat, transfer it scp ~/Downloads/BlueMap-Chat*.jar 12.34.56.789:~/minecraft-server/data/plugins and restart the server.
Yet again, the version above is the one used during writing (v0.3.0). You may want to use a newer version but the instructions may differ, so refer to the official documentation.
We Docker users have to fiddle with the IP’s and ports again. Edit the plugins/BlueMap-Chat/config.yml to have ip: "0.0.0.0" and compose.yml ports section to have "127.0.0.1:8800:8800/tcp".
Next, in the NGINX config, add the following above the “Other addons go here” text at the bottom of the file and reload NGINX.
  # Chat addon
  location /addons/chat/ {
    proxy_pass http://127.0.0.1:8800/;
    proxy_buffering off;
  }